Automation using Python and Selenium WebDriver
In this session we will discuss how to perform UI Automation using Python and Selenium. Automation now days are a key for any successful project implementation and Selenium stands first in the queue. Also when we speak about coding, python is one language which is getting widely used today. We all know that both these tools are open source available for free. So let’s see how we can automate using Python code in Selenium from scratch assuming we don’t have Python installed on our system.
Follow below steps for Automation using Python and Selenium:
1) We will start our task by first downloading Python from below link: https://www.Python.org/downloads/
Click the latest version of Python. Basically we can any 3.* version

2) When you click the latest Python version, scroll down the page and download Windows x86-64 web-based installer:

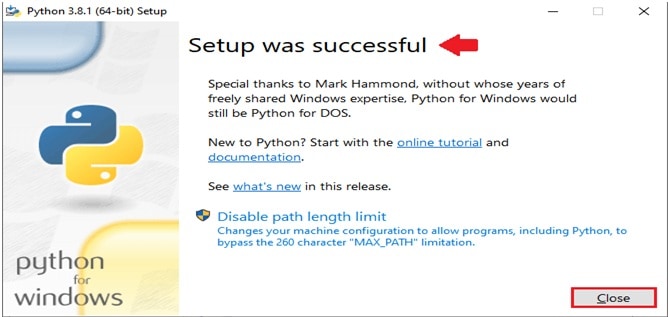
3) Install Python once download completes: Once installation is done, we will see below screen. Close the window upon successful installation. Installation is very simple hence I have not shown all the screens
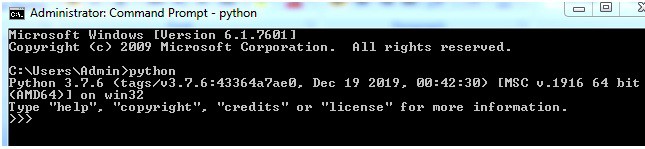
4) Check whether Python is installed successfully: Go to command prompt and type python. If you see below screen, then python is installed successfully. It will give python version installed currently.
5) Next we need to install selenium libraries: To do this, run below command in command prompt. Please note that in above step, after running python command, you will be in python shell. First come out of it using exit() command or open another command prompt. And then run below command:
pip3 install -U selenium
This command will install the selenium libraries in your python folder. Once it will be done, you will see selenium libraries in python folder on your system like below:

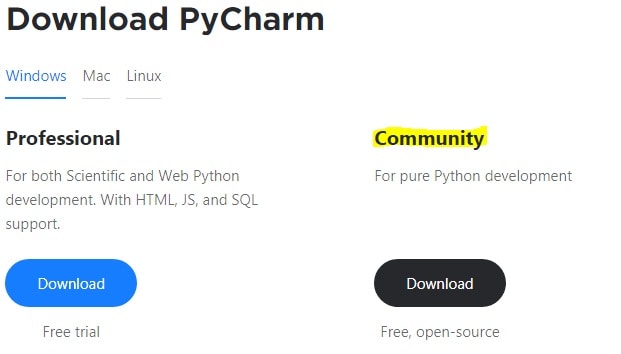
6) Next we will download and PyCharm: PyCharm is a very smart and interactive IDE for python coding and development. Use below link to download Python: https://www.jetbrains.com/pycharm/download/#section=windows
Download Community version from below screen.
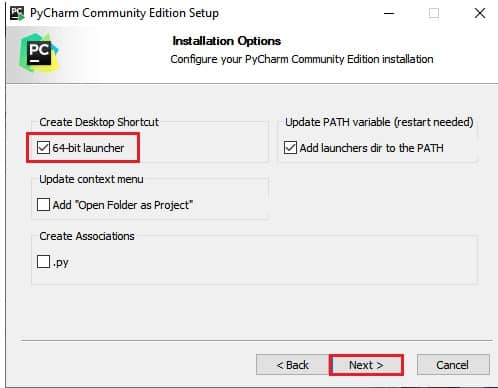
7) Once downloaded, install PyCharm Community version: The installation is very simple hence not putting all the screen shots here. After few pop-up you will get below screen where you need to select ‘64bit launcher’ check box and click Next. The installation will complete in some time.
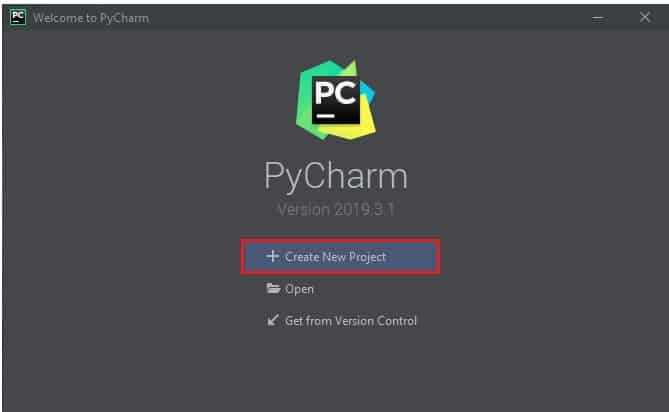
8) Once installed, we will start creating our first PyCharm project for UI automation: Open PyCharm from desktop and click ‘Create New Project’ as seen in below screen:
9) Enter a name for your project: I will enter SeleniumNewProject for this project

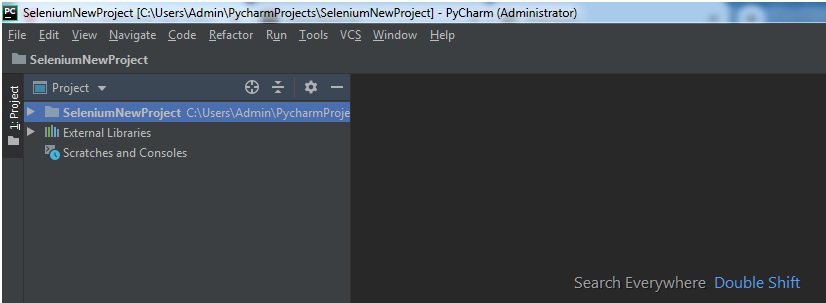
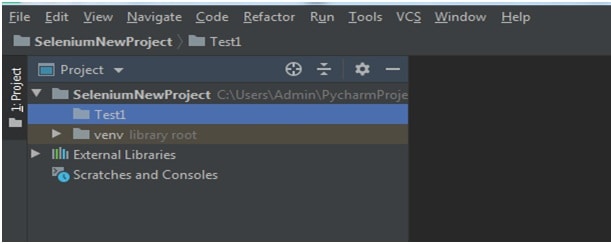
10) This is what you should see now on PyChram window on left hand side
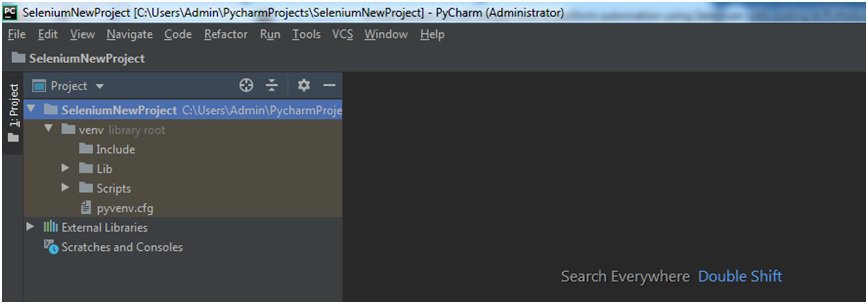
11) Enlarge SeleiumNewProject in the left hand side window: You will see venv (virtual environment) which will contain the default libraries and other settings imported in our project
12) Add Selenium test scripts in our project: Basically they are the test cases which we need to automate. We can do this by doing a right click on our project. We will see various options like Directory, Package, Python file etc. For now we will create a directory in which we will create/code our scripts. We will name our directory as Test1

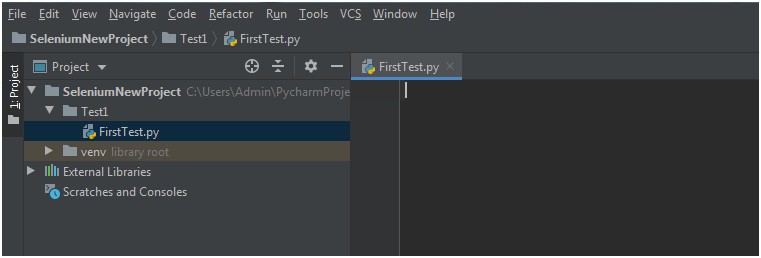
This is how you will see the directory:
13) Now under this new directory, we will create our Python file where we will write code: So right click on the Test1–>New–>Python File and name it as FirstTest. You will see below screen. Here on the right hand panel, you will see the IDE where we will write our code.
14) Import chrome browser executable files in our code: For that first download the chrome executable file from below link.
https://chromedriver.storage.googleapis.com/index.html?path=79.0.3945.36/
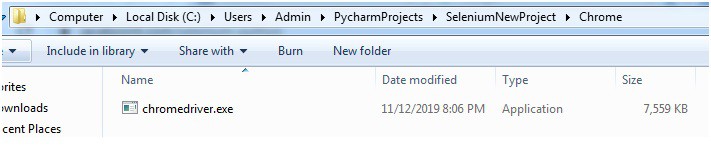
Once downloaded, copy that file into our python folder on system and unzip it.
15) Add the browser executable in our code: Lets add another directory to our project:
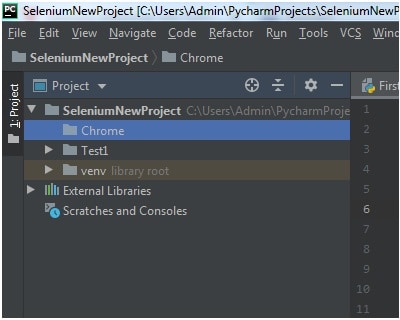
Now manually put the unzipped chrome exe file to this new folder on system as below. You will now see this executable under Chrome directory in PyCharm also
16) Let`s start writing our selenium code: Below is the test case on which we will perform Automation using Python and Selenium This is the test case that we will be automating:
- Open the Google home page
- Then search for a term say ‘java vs python’
- Then the results page should open
- Once done we will close the browser
Step 1: The first step is to import the selenium libraries in our module. Now anyone who has worked on python will understand how we import modules in our programs:
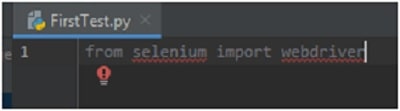
In the above screen, you will see an error. Just click the red error icon and click Install Package Webdriver. This is just to install webdriver libraries.

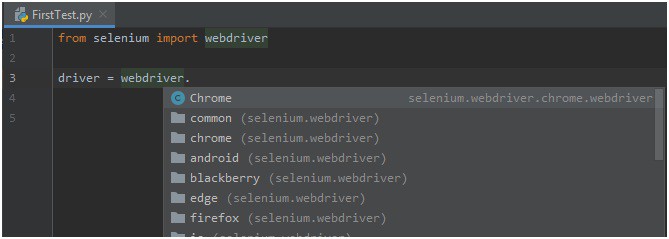
Step 2: Next we will open the chrome browser. You can open any other browser also.
driver = webdriver.Chrome()
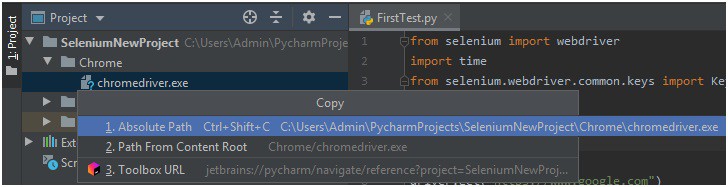
Step 3: Now go to our Chrome folder under project, right click chromedriver.exe file and copy the absolute path
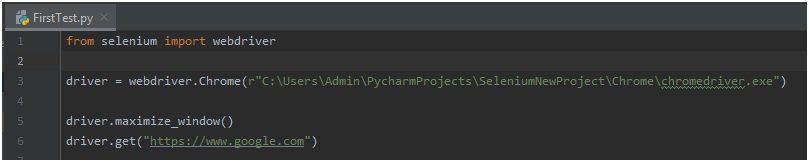
Step 4: Add this path to the Chrome object like below:
driver = webdriver.Chrome(r“C:\Users\Admin\PycharmProjects\SeleniumNewProject\Chrome\chromedriver.exe”)
We need to put a letter ‘r’ in the beginning in the bracket to avoid exception
Step 5: In the next step, we will maximize the browser and provide the url to open:
Step 6: In the next step, we will enter ‘java vs python’ in the search box. For this, we have to locate the text box using name attribute. Right click the text box and click inspect
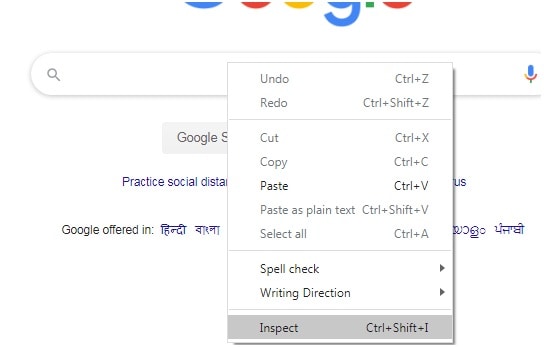
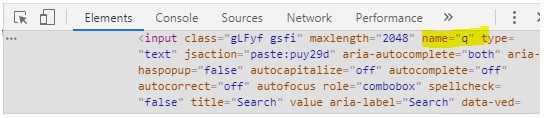
This will open developer toll option. From there get the name of this text box. Name is ‘q’
Step 7: Once the element is found, we need to put our search term ‘java vs python’ using below code:
driver.find_element_by_name(“q”).send_keys(“java vs python”)
Step 8: Next we have to locate the search button using the same steps. Right click on ‘Google Search’ button and click inspect. See the name property from developer tools window. The name of the property is ‘btnK’

Step 9: Once done, now we have to click this search button using below code:
driver.find_element_by_name(“btnK”).send_keys(Keys.ENTER)
After this we will close our browser using below code:
driver.close()
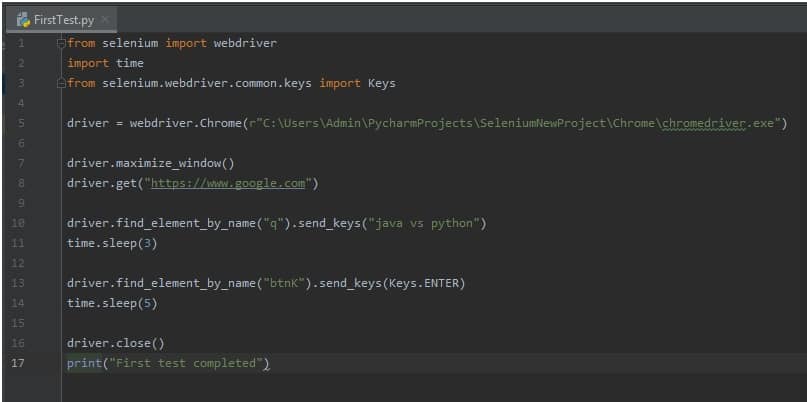
Step 10: Our final code will look like this:
In the below code we have imported time module also using ‘import time’ statement. We did this because we have used sleep statement at some places to wait for some seconds
We have also imported keys module in third import statement. We did this because we have used Keys.ENTER to click on search button
Step 11: To run this project, just right click on the screen and click Run ‘FirstTest’. You will see that first the browser will open and our test will be performed.

Step 12: You can also run this code from the command prompt. Copy the path of FirstTest.py that we have created in the same way we did for chrome exe file. Open command prompt and go to that path. Then run below command. You will observe the same results.
python FirstTest.py
With this lets finish our first session on Automation using Python and Selenium. In the next session, I will try to explain some more programs for automation.